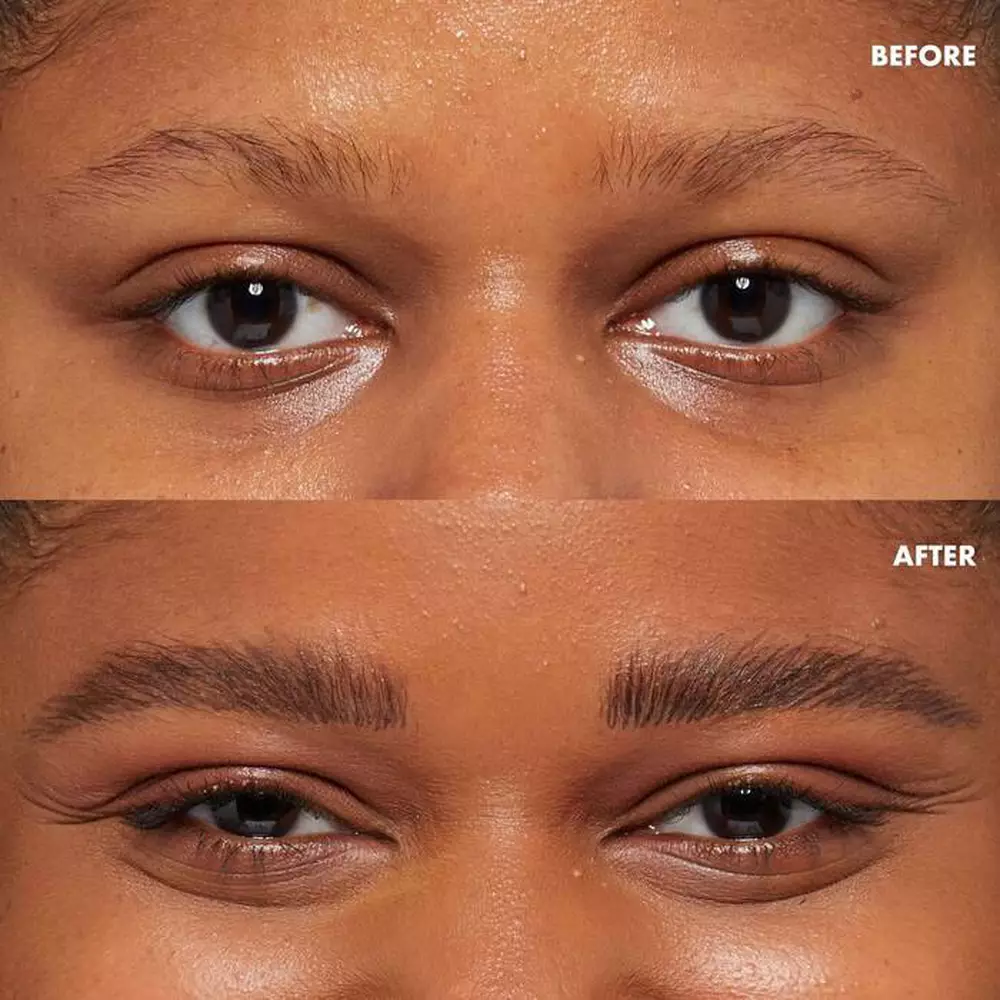
If there’s one thing TikTok’s viral ‘90s thin eyebrow filter has taught us, it’s that the shape of your brows can have a huge impact on your overall appearance. Brows are transformative, and grooming them properly can take your look to the next level.
That’s probably why brow gel is so popular – in fact, searches for “tinted eyebrow gel” are up +211% year-on-year thanks to all you girlies searching for that perfect brow flex!
Here, we’ve put together a guide detailing how to use brow gel to get the arches of your dreams. Whether you’re a newbie or someone who’s just looking to expand their eyebrow expertise, you’ll find helpful tips and advice for artfully-groomed arches ahead.
How to Apply Brow Gel: Key Takeaways
- Brow gel helps shape, define and hold your brows in place
- Choose between tinted or clear formulas depending on your desired finish
- Brush against the grain first to fully coat hairs for longer-lasting hold
- Shape brows before the gel sets to lock in your look
- Use a brow pen to fill sparse areas for added definition
What is Brow Gel?
First things first: what is brow gel? Brow gels, sometimes referred to as brow mascaras, are incredibly versatile. Some thicken the brows, others add colour, and still, others provide hold for shaping and sculpting. This versatility means that there’s a brow gel formula to suit practically any need or beauty aesthetic.
What is brow gel used for?
So, how does brow gel work? Brow gel works by coating each brow hair to add structure, shape and staying power. As the formula dries, it sets the hairs into place, helping them stay lifted, brushed or sculpted throughout the day. When using techniques like brushing against the grain first, you coat both sides of the hair for stronger, longer-lasting hold.
Depending on the formula, it can:
- Add colour for fuller-looking brows, like our Brow Glue Instant Brow Styler
- Provide a strong hold to keep hairs in place
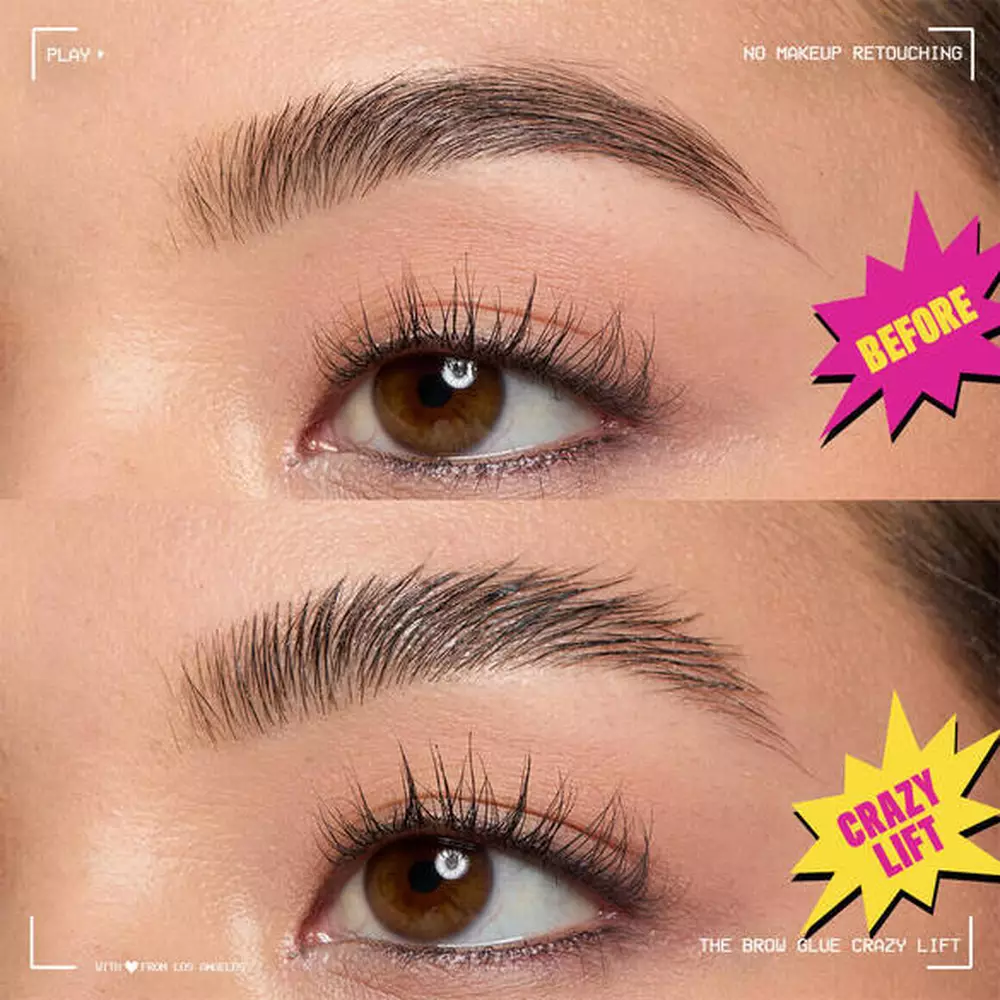
- Create a lifted, laminated-style effect, like our The Brow Glue Crazy Lift
- Define and enhance your natural brow shape
How To Use Eyebrow Gel Step-by-Step
Now, let’s get to what you’re really here for: the deets on how to use brow gel like a pro. Keep reading for our easy, four-step guide to using eyebrow gel in your makeup routine:
-
-
Step One: Prep The Area
For your brow gel to apply smoothly and evenly, a clean canvas is a must. Use a makeup wipe or a cotton swab dipped in micellar water to gently cleanse your brows and remove any dirt, oil, or cosmetics (like your skincare products) that may be on your brows. Then, pat the area with a clean washcloth or cotton round to ensure your eyebrows are dry and ready for the next step.
Step Two: Brush Brow Hairs From Root To Tip
Next, decide what brow gel you want to use. This depends on what type of brow look you’re going after:
-
1. Looking to add definition and colour to your brows? Then opt for our Brow Glue Instant Brow Styler, which comes in five shades ranging from clear to black. This tinted brow gel will hold your brows in place for up to 16 hours while adding that extra touch of colour.

-
2. After a brow gel that will hold those hairs in place like super glue? Say hello to our The Brow Glue Crazy Lift brow gel. Our strongest brow gel yet, this clear eyebrow gel defines and fixes your brows for up to 24 hours for that lamination-style effect.
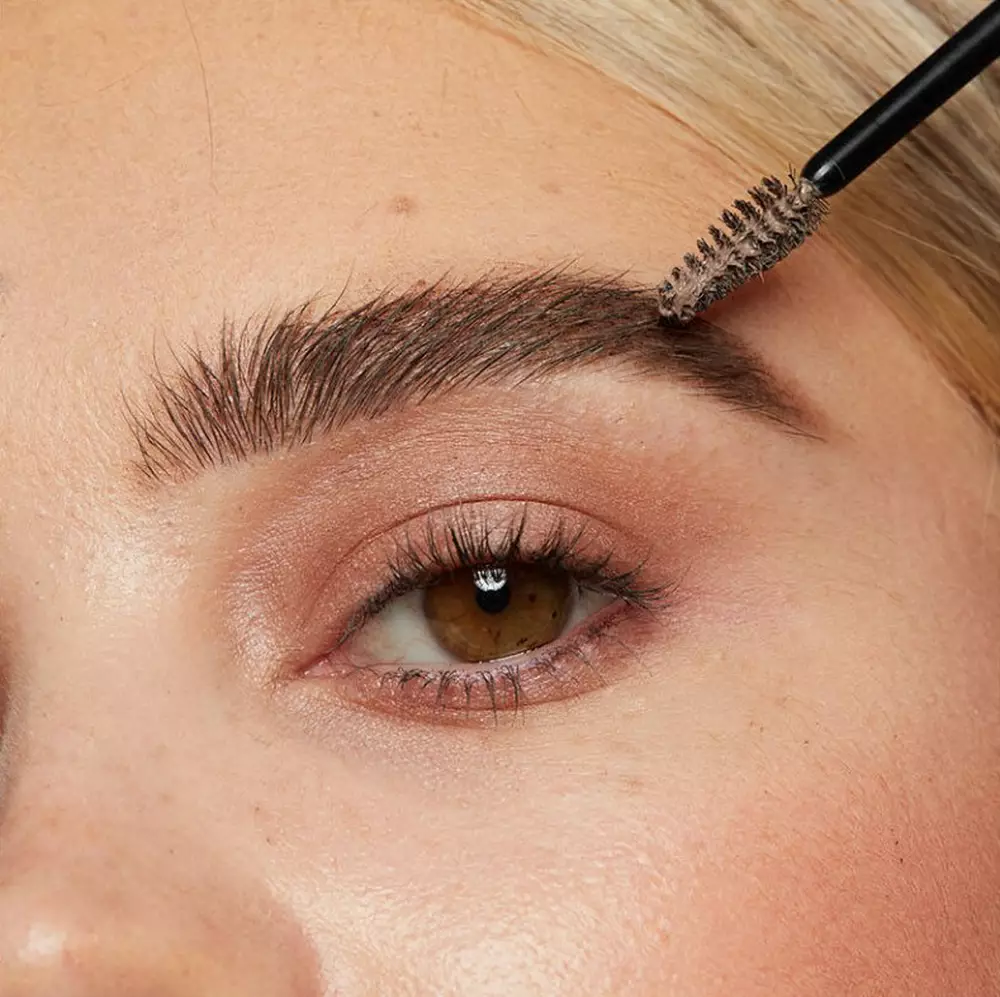
Once you’ve chosen your formula, remove the attached spoolie brush and brush your brows against the grain (in other words, in the opposite direction of hair growth). Then, starting at the front of your eyebrows, brush them back in the direction of hair growth. This technique coats both sides of your brows in product, which can help provide longer hold.
Step Three: Create Your Desired Shape
Before your eyebrow gel starts to set (in other words, dry), go ahead and brush your brows into their final shape. You can get a lifted, laminated look by brushing your hairs upward, or create a more natural look by combing through your brows in the direction of hair growth. Whichever style you choose, be sure to let your brow gel dry completely before touching them to avoid disrupting the shape.
Step four (Optional): Fill In Sparse Areas
If there are any areas you’d like to define further, reach for a brow pen. Try our Lift & Snatch! Brow Tint Pen, which – as the name suggests – is great for creating lifted brow looks with up to 16 hours of wear. Use light pressure to draw ultra-fine strokes that mimic the look of baby hairs, or press down harder for thicker, bolder lines.
-
-